
How to Take a Screenshot on Mac?
Complete Mac screenshot guide: Command Shift shortcuts, one window capture, clipboard, Screenshot app, save locations, HDR and troubleshooting.
Fastest method: ⇧ Shift + ⌘ Command + 4
What happens: Turns the pointer into a crosshair so you can capture a selected area.
Saved to: Desktop by default, unless the save location is changed in Screenshot options.
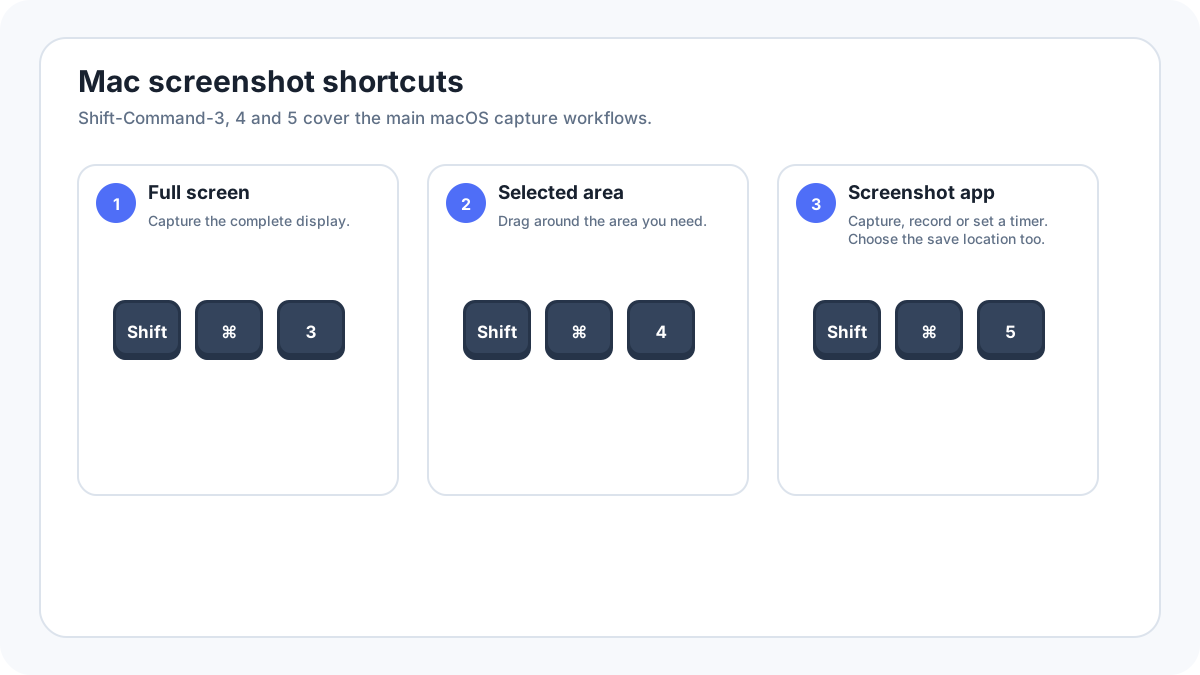
Mac screenshot shortcuts at a glance
| Shortcut | What it does |
|---|---|
| ShiftCommand3 | Capture the entire screen |
| ShiftCommand4 | Drag to capture a selected area |
| ShiftCommand4, then Space | Capture one window or menu |
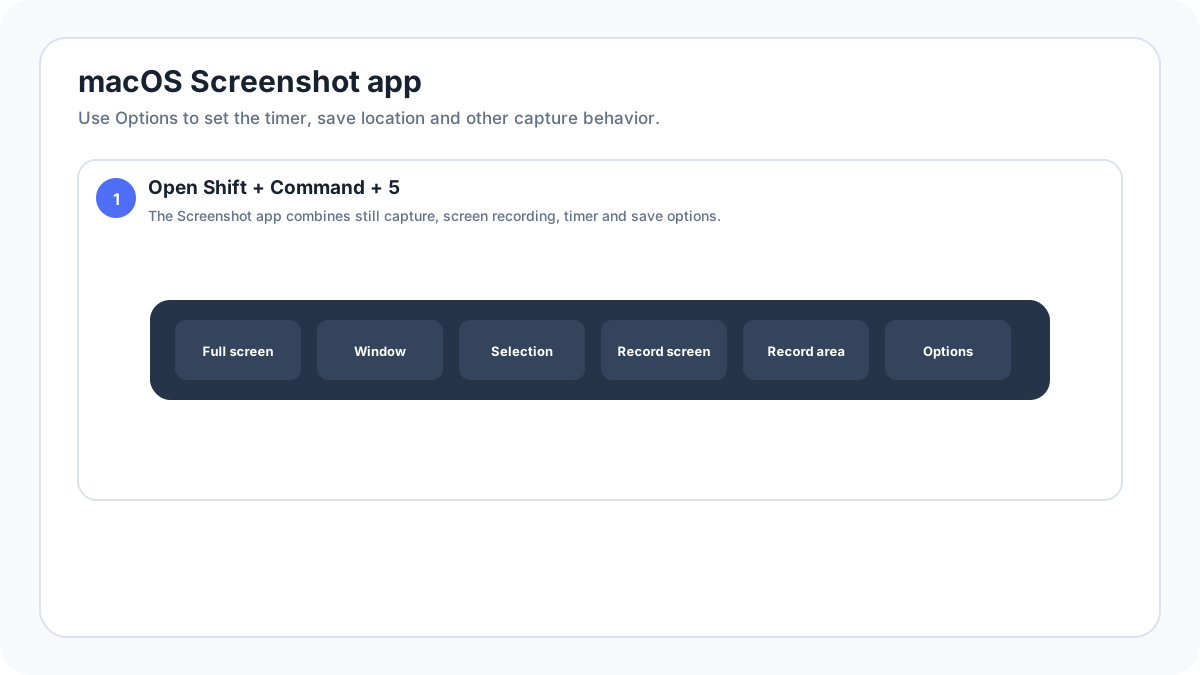
| ShiftCommand5 | Open the Screenshot app for capture, recording, timer and save location controls |
| Add Control | Send many screenshot shortcuts to the clipboard instead of saving a file |
Capture the whole screen
- Press ShiftCommand3.
- If a floating thumbnail appears, click it to edit immediately or wait for the file to save.
- Find the image on the Desktop by default unless you changed the destination.
Capture a selected part of the screen
- Press ShiftCommand4.
- The pointer becomes a crosshair.
- Drag around the exact area you need.
- Release the mouse/trackpad to capture. Press Escape before releasing if you want to cancel.
Capture one window or menu
Press ShiftCommand4, then press Space. The pointer becomes a camera. Move over the window or menu and click. This produces a much cleaner image than capturing the full desktop and cropping it later.
Use the Screenshot app with ShiftCommand5
The Screenshot app gives you a toolbar for capturing the entire screen, a window or a selected portion, plus screen recording. Its Options menu is also where you choose the save location, set a timer, control the floating thumbnail and choose pointer behavior.
Where Mac screenshots are saved?
By default, macOS saves screenshots to the Desktop with a date/time filename. Open ShiftCommand5 › Options to choose another location. You can also drag the floating thumbnail to a destination before it disappears.
Copy a Mac screenshot to the clipboard instead of saving it
Hold Control in addition to the normal screenshot shortcut. For example, ControlShiftCommand3 captures the whole screen to the clipboard. Paste it into Mail, Messages, a document or an image editor. Apple also documents a Save to Clipboard action from the floating thumbnail menu.
HDR screenshots in macOS Tahoe 26
Apple’s current documentation says that on supported Mac models using macOS Tahoe 26 or later, Screenshot options can choose SDR (Most Compatible) using PNG or HDR using HEIF. Use SDR/PNG when compatibility matters; use HDR only when your workflow and destination support it.
How to take a scrolling screenshot on Mac?
macOS does not provide one universal “scroll this entire app and stitch it” keyboard shortcut. For webpages, use a browser full page feature or print/export to PDF. For documents, use the app’s PDF/export function where possible. For long app interfaces, use a trusted scrolling capture utility or multiple overlapping screenshots. The dedicated Mac scrolling screenshot guide explains the safest choices by content type.
Edit a Mac screenshot
Click the floating thumbnail before it disappears to open Markup. From there you can crop, draw, add shapes/text and share. If the thumbnail has already disappeared, open the file in Preview and use Markup tools there.
Screen recording on Mac
Press ShiftCommand5 and choose Record Entire Screen or Record Selected Portion. This is better than a still screenshot when you need to demonstrate animation, a sequence of actions or a bug that appears only during interaction.
Mac screenshot not working
- Verify the keyboard shortcut in System Settings › Keyboard › Keyboard Shortcuts if it was customized.
- Test ShiftCommand5 to open the Screenshot app directly.
- Check whether the current app is protected from capture.
- If files seem missing, open Screenshot Options and confirm the destination.
- If you expected a file but added Control to the shortcut, the image may be only on the clipboard.
- Restart the Screenshot related workflow or the Mac if shortcut handling becomes unresponsive.
More Mac screenshot guides
- Scrolling screenshot on Mac
- Where Mac screenshots are saved
- Capture one Mac window
- Mac screen recording
Verification source: Apple Support, Take a screenshot on Mac. Interface wording can vary slightly by OS build, manufacturer and keyboard layout.