
How to Take a Screenshot on a MacBook Air or MacBook Pro?
MacBook screenshot shortcuts for full screen, selected area, one window, clipboard, save location and external displays.
MacBook Air and MacBook Pro use the same core macOS screenshot shortcuts as other Macs. You do not need a Print Screen key: the built in Command and Shift shortcuts handle full screen, selected area, window and recording tasks.
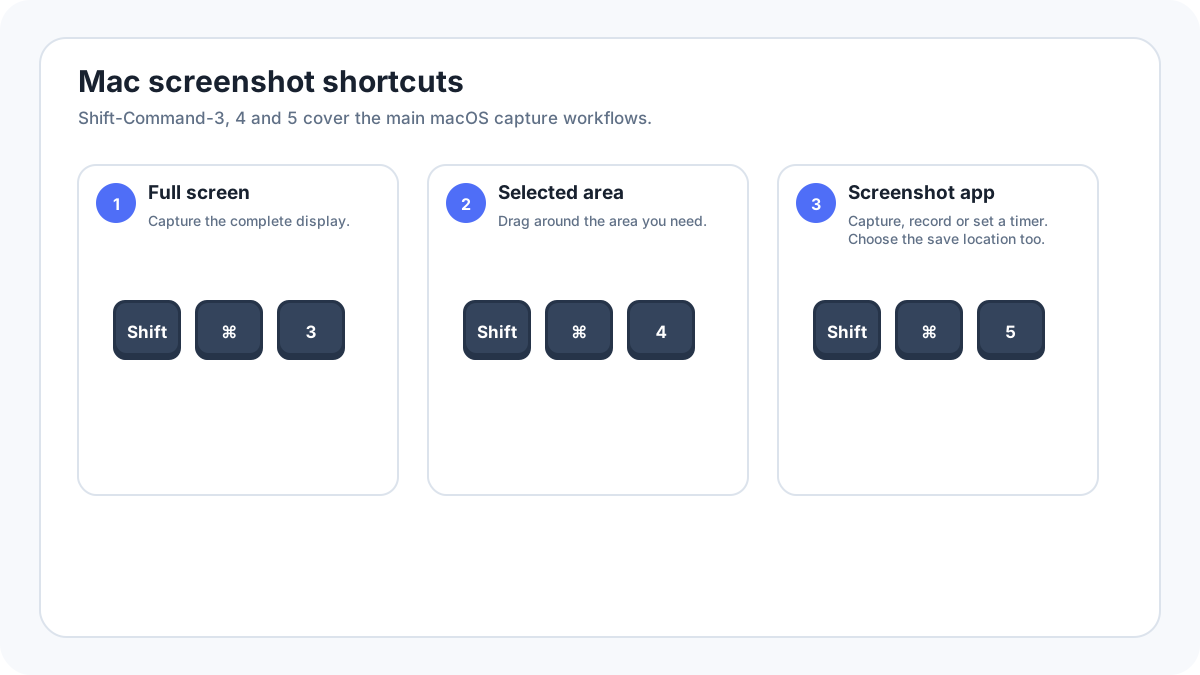
MacBook screenshot shortcuts
| Shortcut | What it does |
|---|---|
| ShiftCommand3 | Capture the entire visible Mac desktop |
| ShiftCommand4 | Drag to capture a selected area |
| ShiftCommand4, then Space | Capture one window or menu |
| ShiftCommand5 | Open the Screenshot toolbar for capture, timer and screen recording |
| Control + screenshot shortcut | Copy the result to the clipboard instead of the normal file workflow |
How to screenshot the whole MacBook screen?
- Arrange the content on the MacBook display.
- Press ShiftCommand3.
- A screenshot is created immediately.
- Use the floating thumbnail when it appears to edit/markup, or let macOS save the file.
How to snip or capture part of the MacBook screen?
Press ShiftCommand4. The pointer changes to a crosshair. Drag around the exact area you want, then release. This is the Mac equivalent of a “snip” for most everyday tasks and avoids capturing unrelated desktop content.
How to capture one MacBook window?
Press ShiftCommand4, then press Space. Move the camera pointer over the window and click. This captures the window cleanly rather than forcing you to crop it out of a full screen image.
Where MacBook screenshots are saved?
By default, macOS saves screenshots to the Desktop. Press ShiftCommand5 and open Options to choose another destination. If you add Control to the shortcut, the screenshot goes to the clipboard and may not appear as a file until you paste it somewhere.
MacBook Air versus MacBook Pro
The standard screenshot shortcuts are the same on current MacBook Air and MacBook Pro models. The physical keyboard size, external keyboard and macOS version can change what you see, but there is no need to create a separate near duplicate screenshot page for every MacBook generation.
Using an external display
A full screen shortcut can capture more than one display when multiple screens are connected. If you need only one display or a small region, use ShiftCommand4. Review the result before sharing so a second display does not expose unrelated information.
Scrolling screenshots on MacBook
macOS does not provide one universal long screenshot shortcut for every app. For long webpages, use a browser full page feature; for documents, PDF export can preserve the whole page more reliably than stitching screenshots. See the Mac scrolling screenshot guide.
MacBook screenshot not working
- Open ShiftCommand5 to confirm that the Screenshot interface itself works.
- Check whether Command/Shift keys work in other shortcuts.
- Look at Options if screenshots are saving somewhere unexpected.
- Temporarily quit keyboard shortcut/remapping utilities.
- Check whether the app you are capturing intentionally blocks screenshots.
- Restart macOS if the capture service becomes unresponsive.